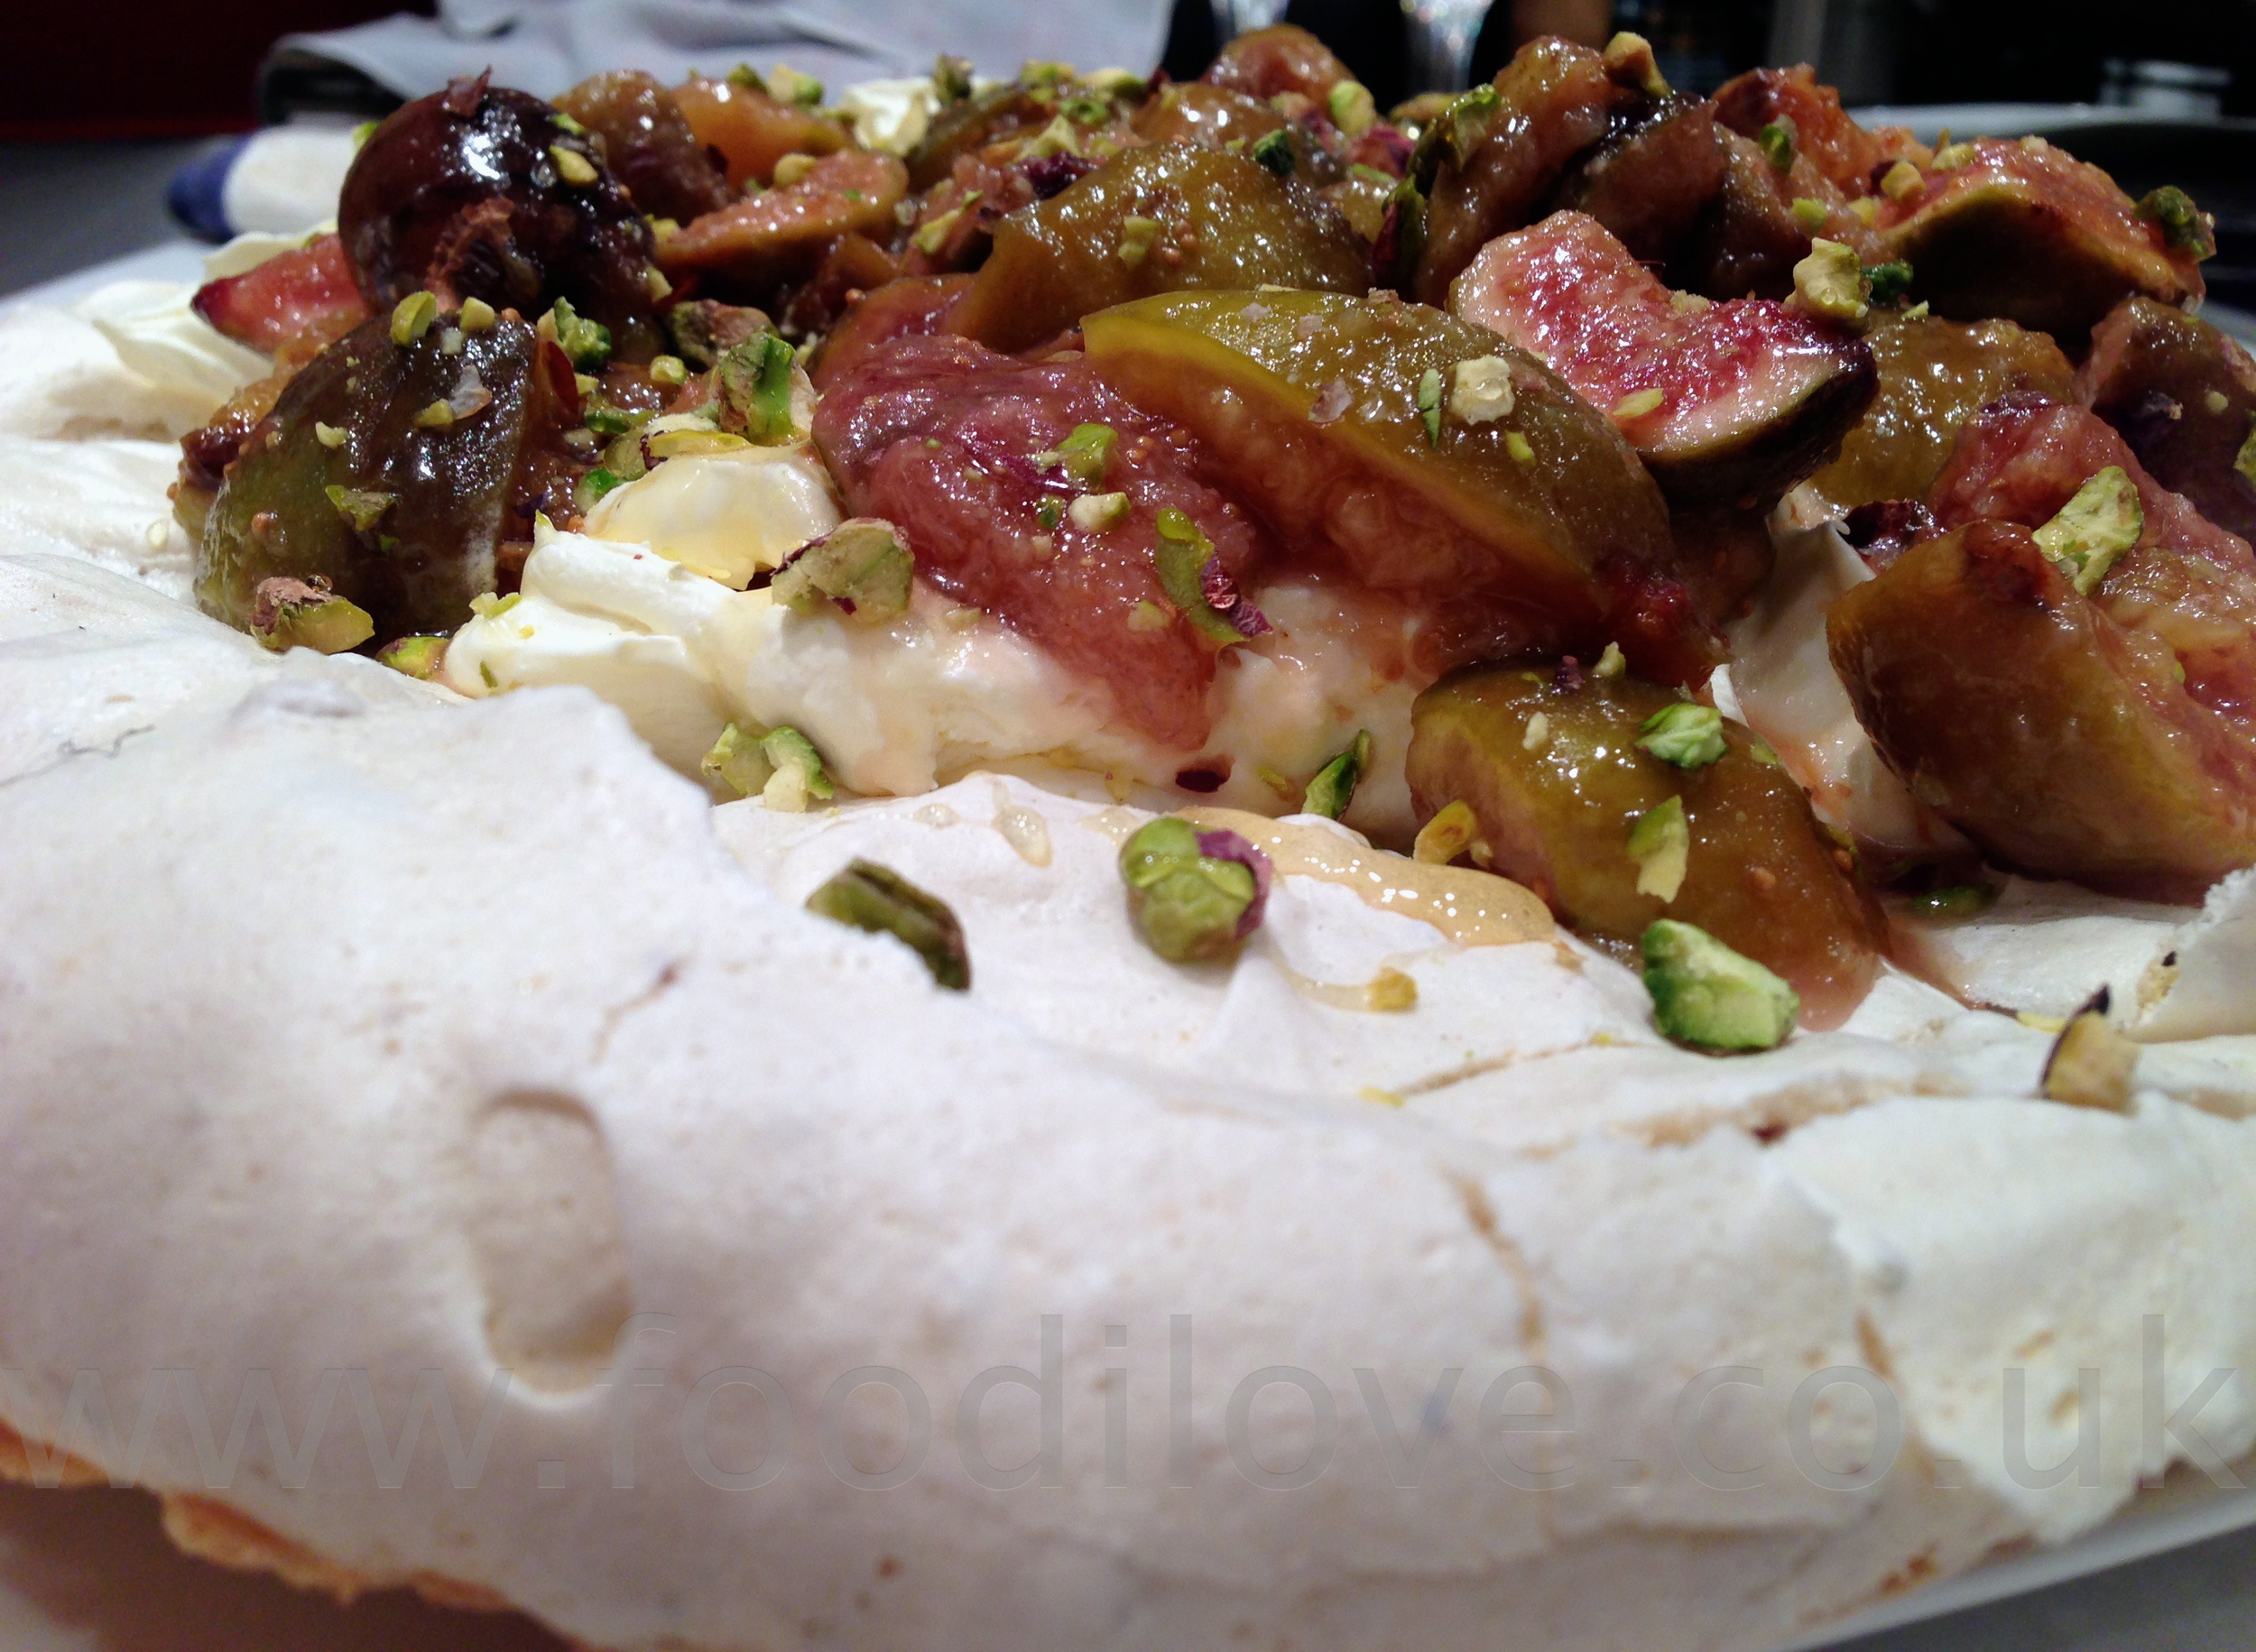
Pistachio Pavlova with Figs and Honey
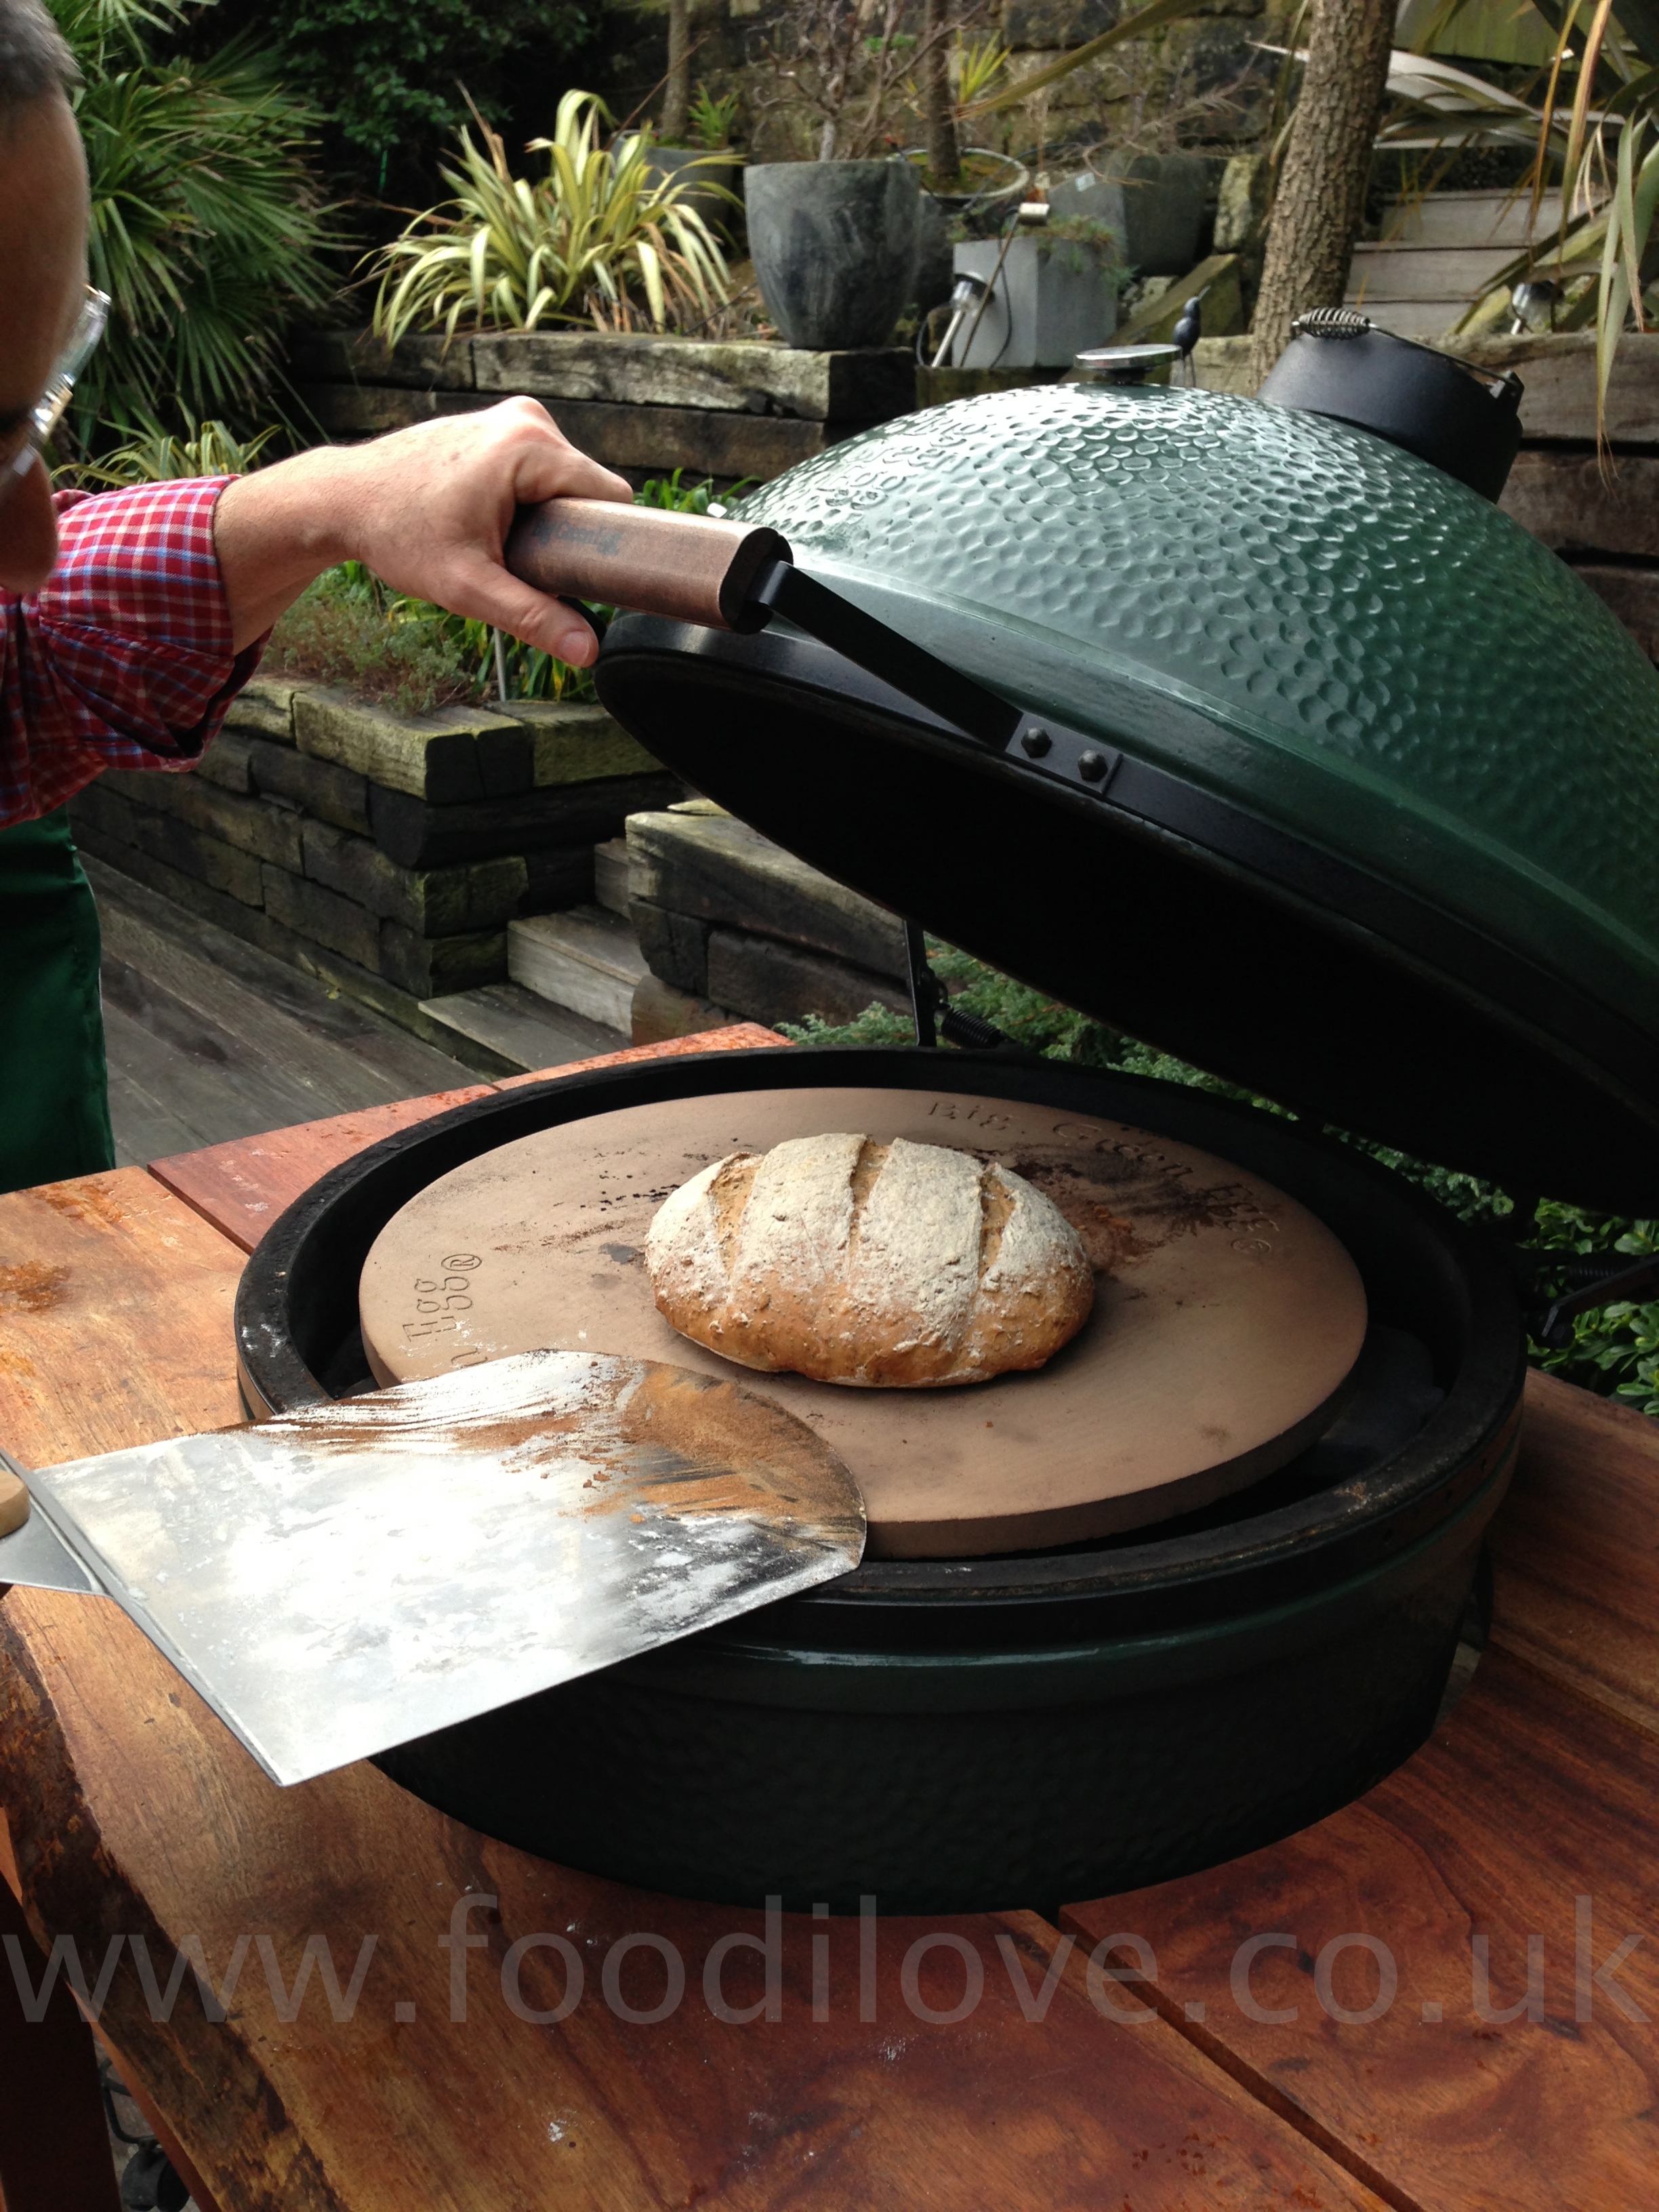
Pistachio Pavlova with Figs and Honey cooked on the Braai/BigGreenEgg
It's time for something sweet to cheer us all up, unless you happen to be somewhere sunny! What the hell, lets cheer everybody up with this great desert which I am going to cook on the Braai/BigGreenEgg. This is something that I made up but the main ingredients go together like “pup and wors”, “Samson and Delilah” but its Pistachio, Figs and Honey all set on top of a classic Pavlova. What I hear you say, you cant cook this on a braai! Well let me assure you, you can, if its a "BigGreenEgg" man I think you can cook anything on one of these. I'm almost coming to believe in my ability to actually cook. Who knows, perhaps I will end up on TV as a Celebrity chef lol!!!
Actually, this is very easy to do and looks great when you serve it but even better it tastes absolutely LEKKER. This combination of ingredients just work and it will keep you coming back for more, the only problem is that there are about a 1000 calories in each slice ;-)
SERVES 6-10: PREP: 25MINS: COOK TIME:1-1.5HR
Ingredients for the Pavlova:
- 6 x Large egg whites
- 330g x White caster sugar
- 2 x Tbsp corn flour (optional) if you want a soft meringue
- 100g x Crushed Pistachio nuts
Method for cooking Pavlova:
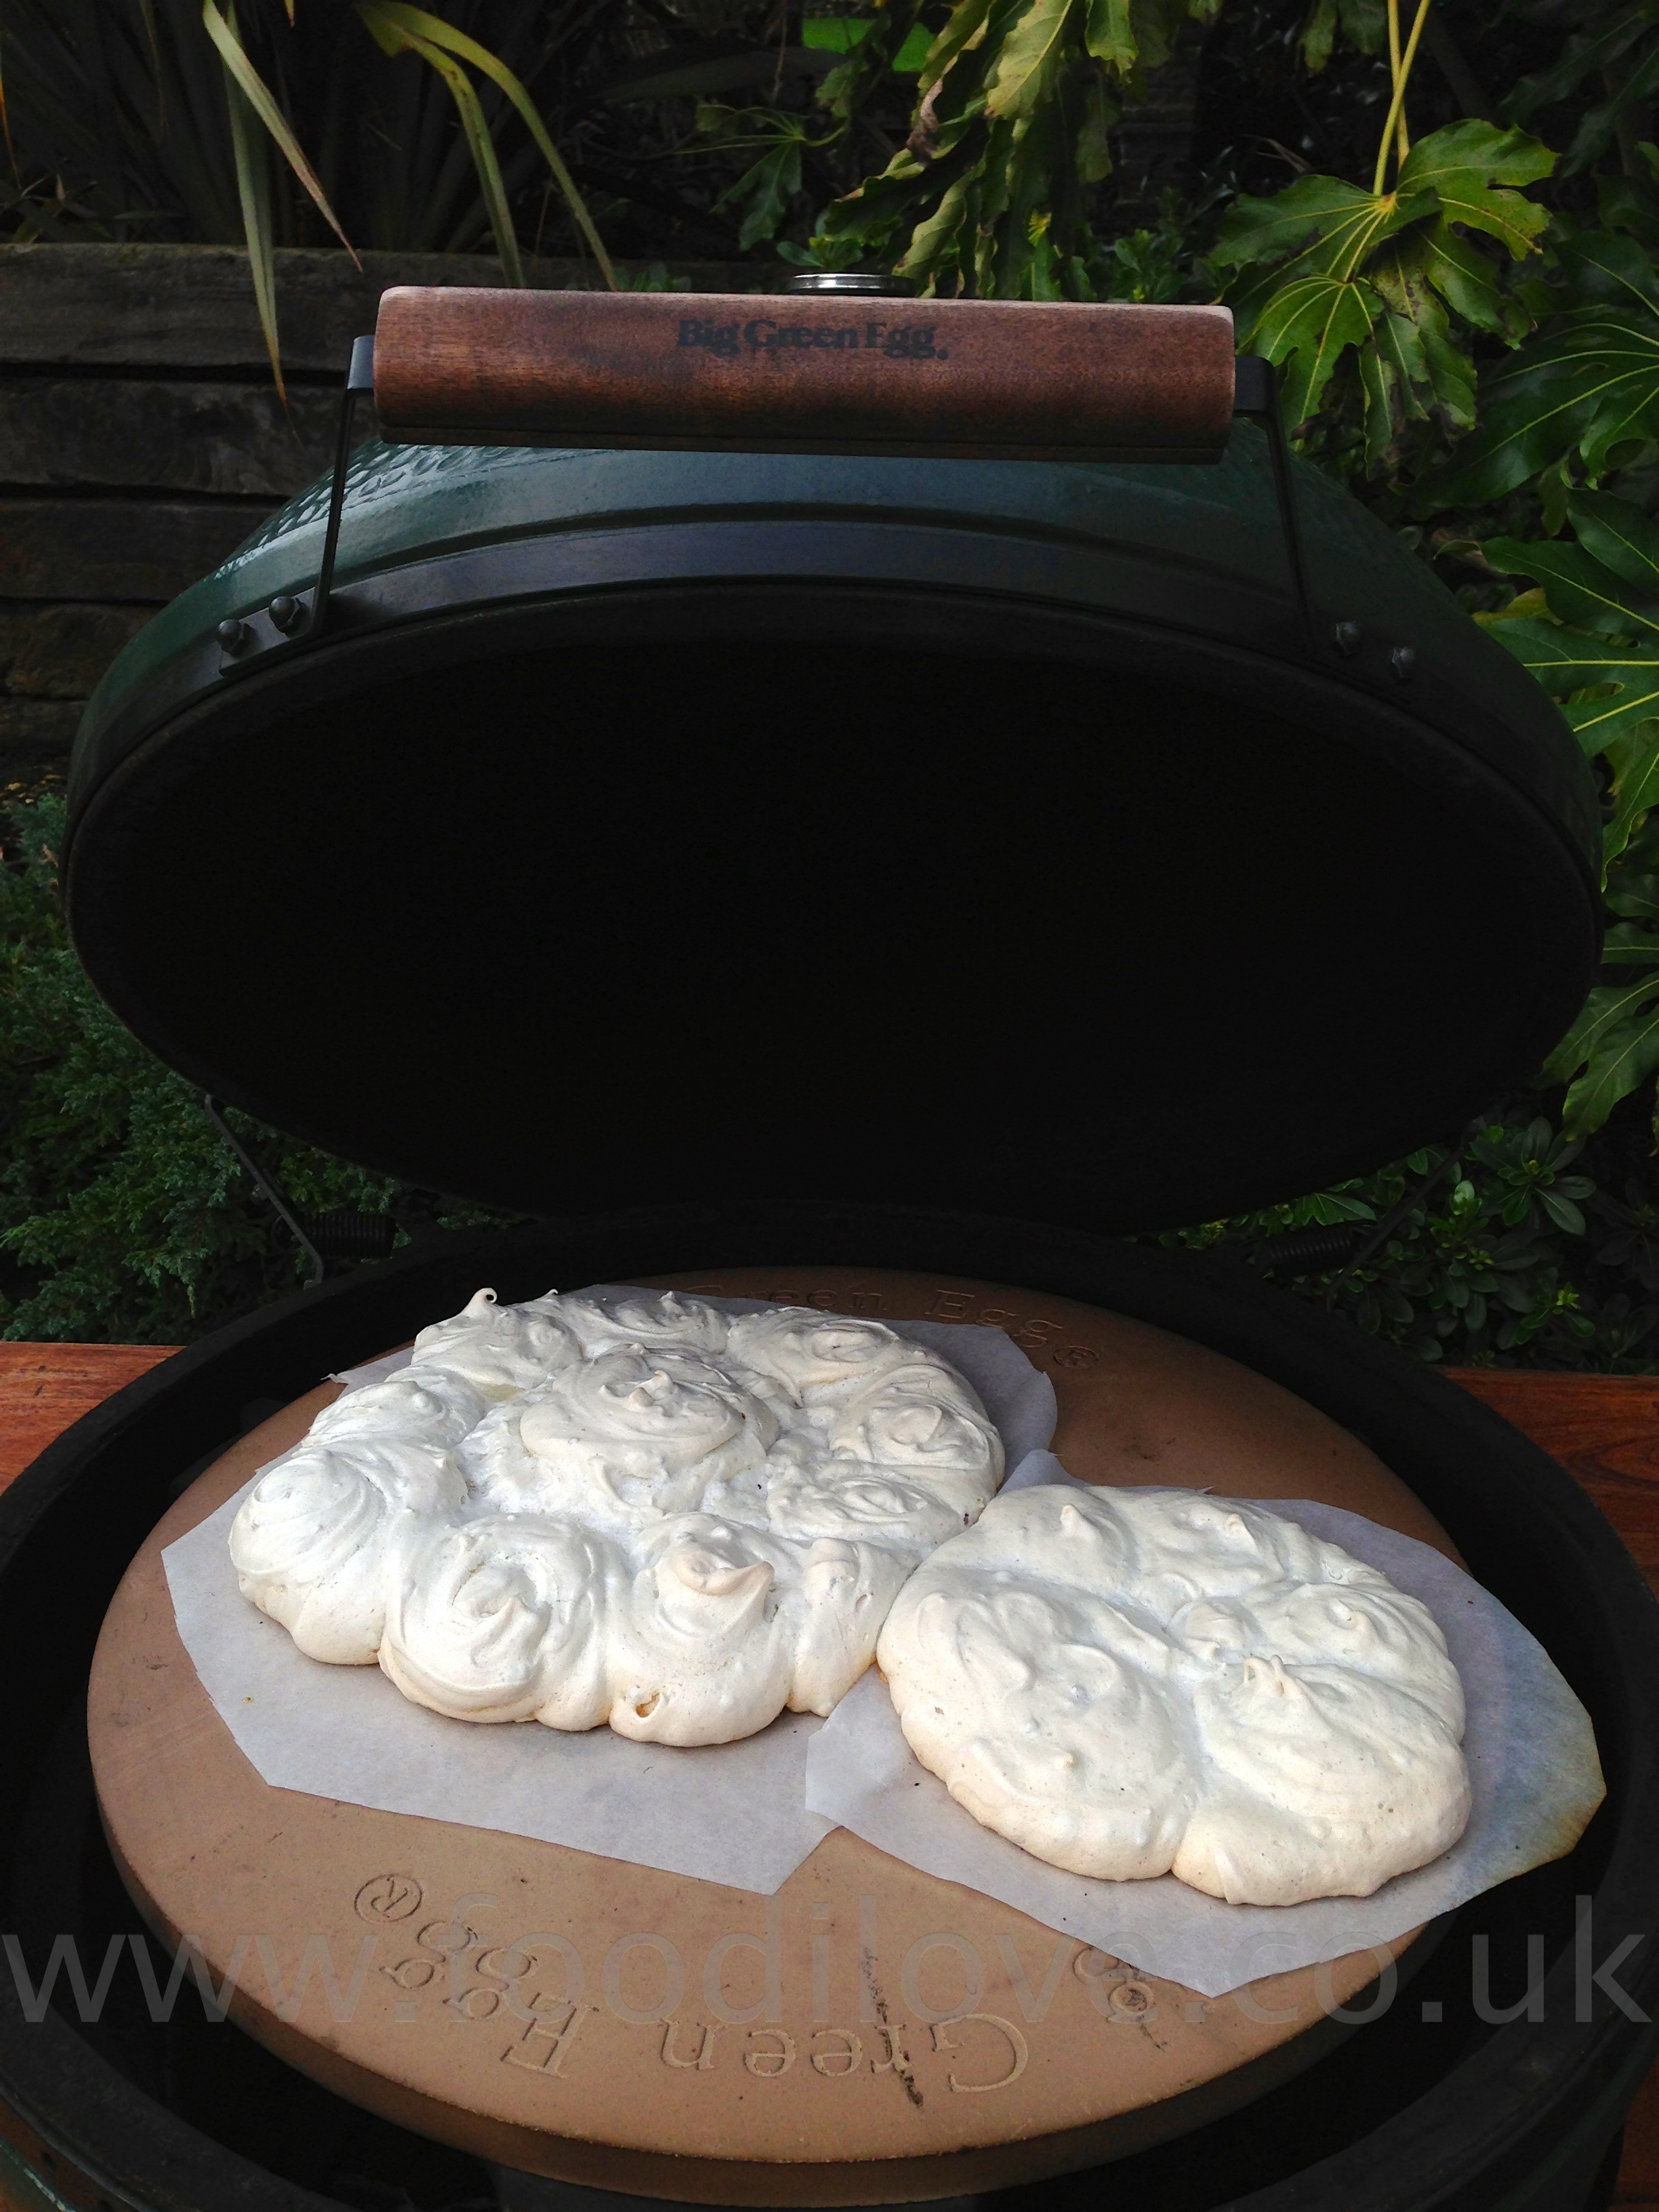
Preheat the Braai/BigGreenEgg to 275ºF/140ºC. Line a baking tray with some wax paper to lay the meringue on and lightly oil it with some olive oil.
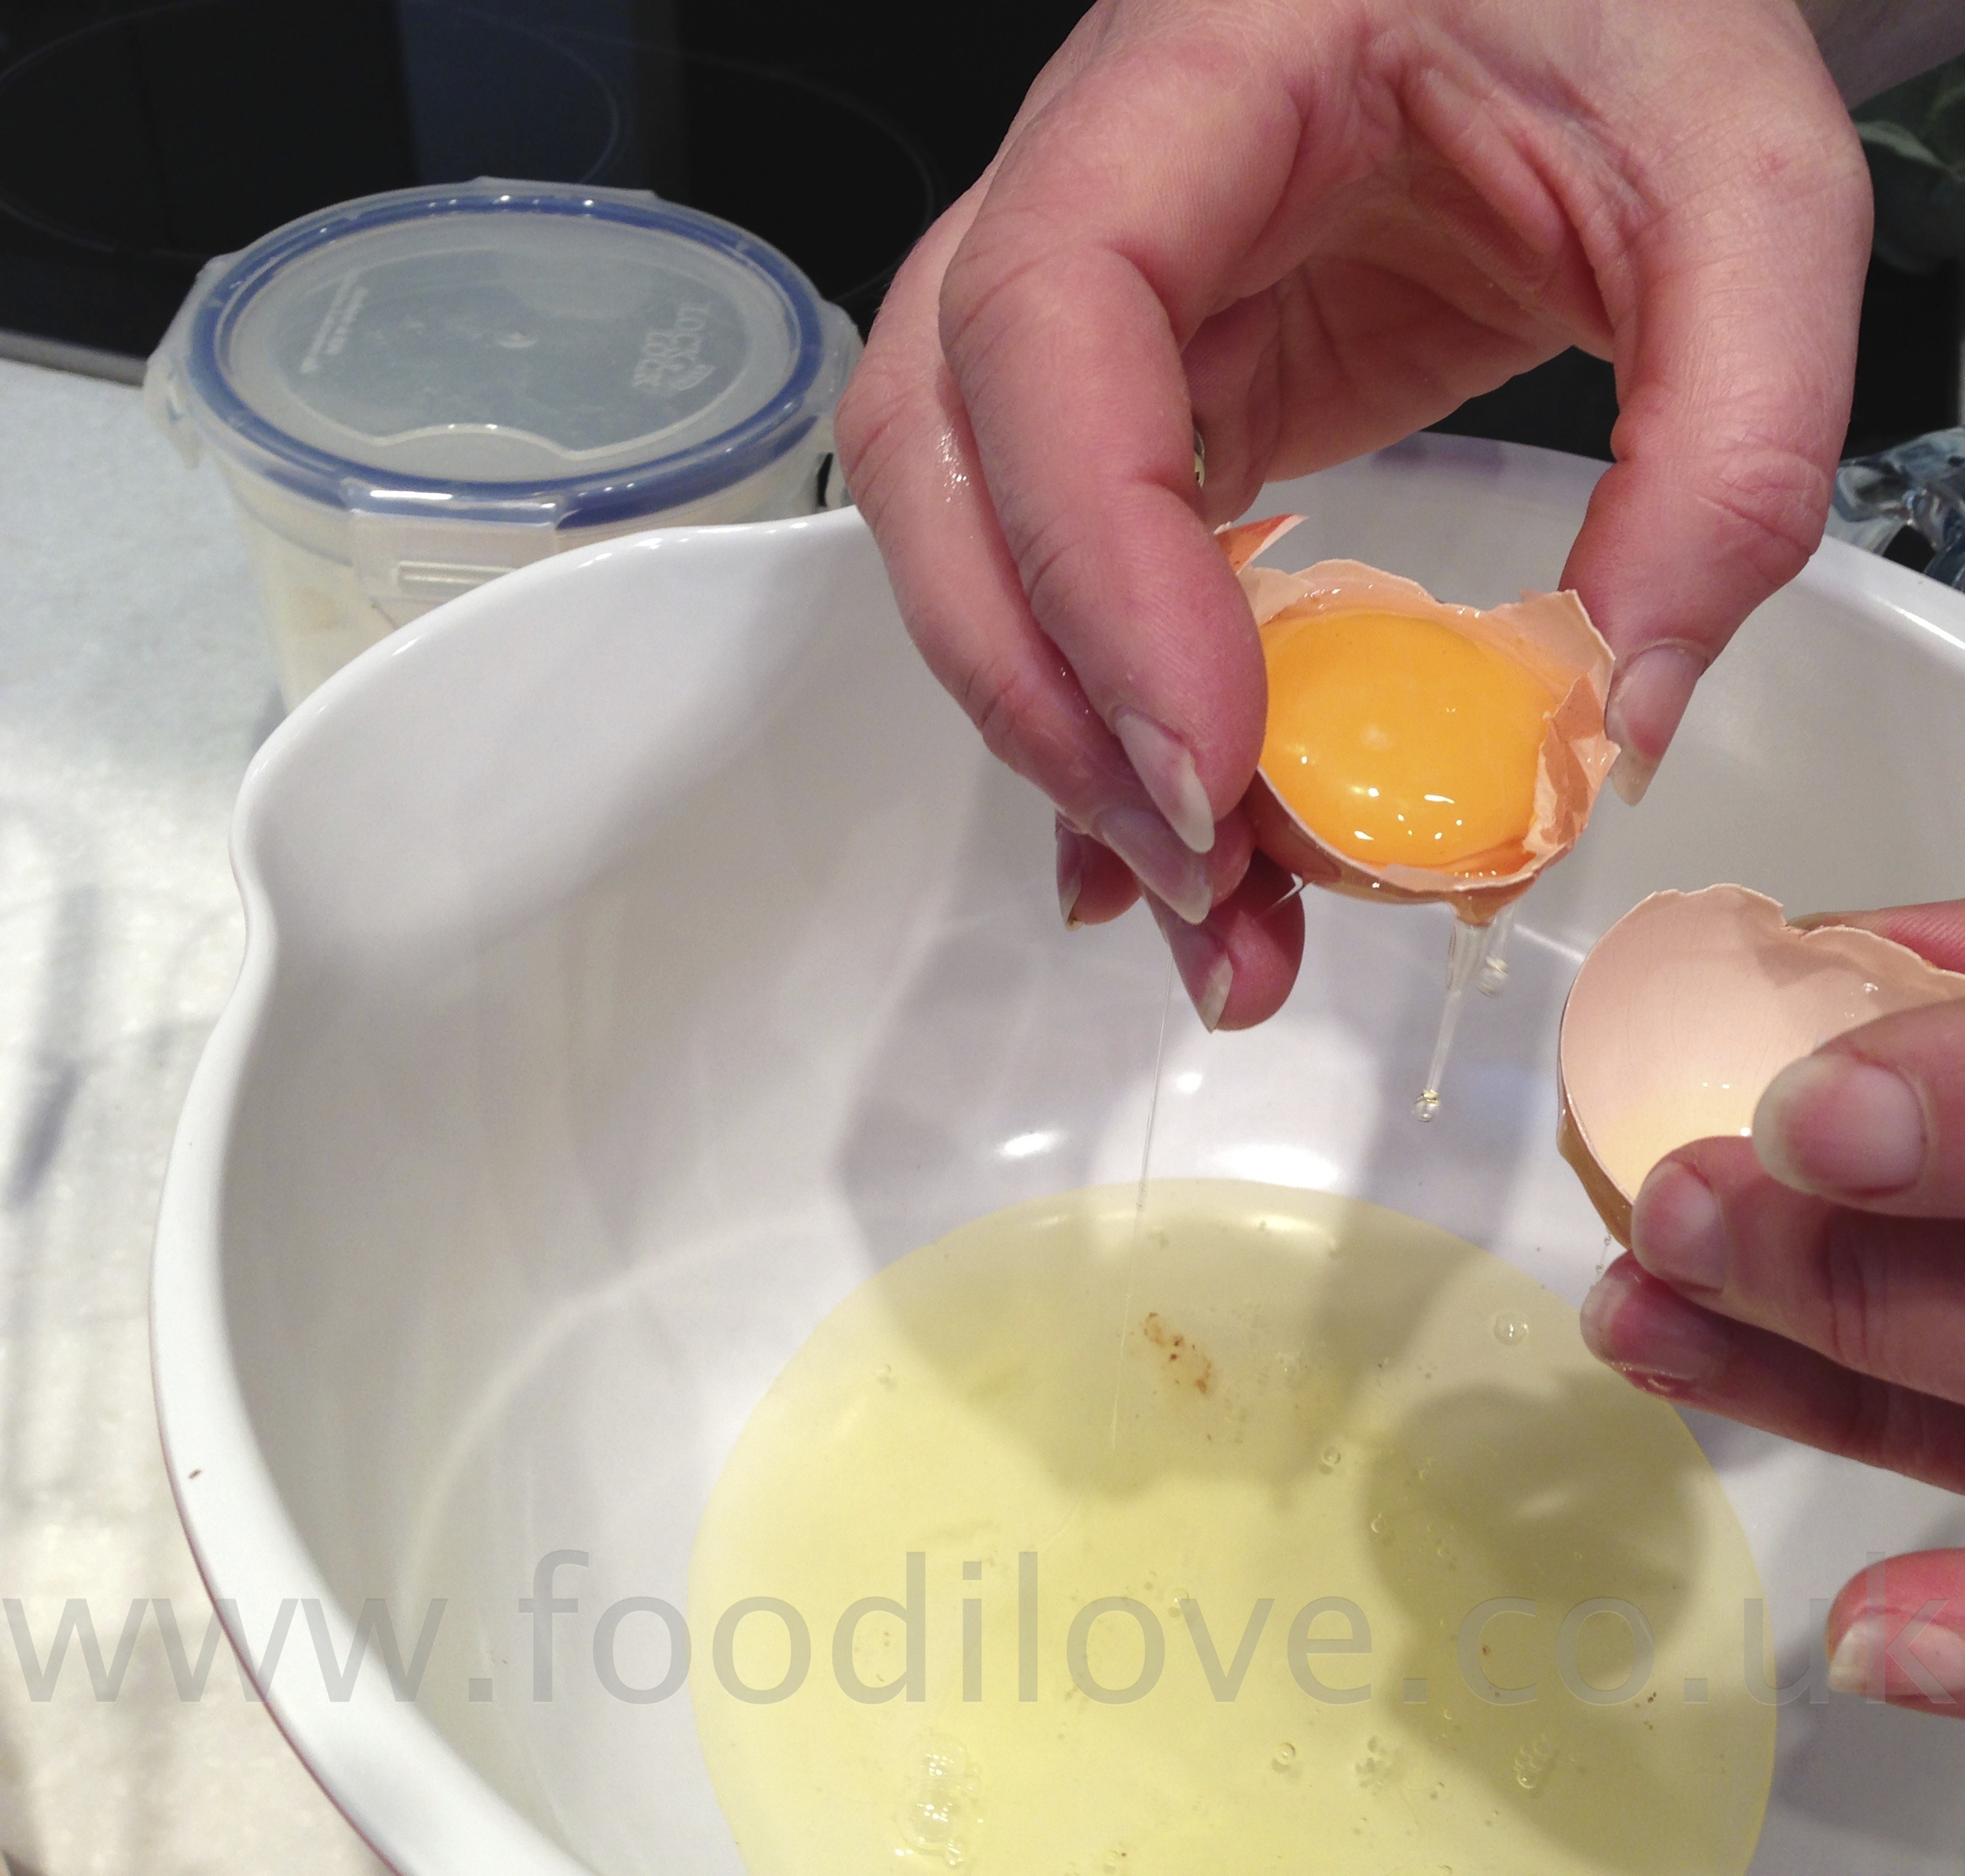
Place the egg whites in a large clean bowl and using an electric whisk on a low speed, begin whisking. Continue for about 2 minutes until the whites are foamy, then switch the speed to medium and carry on whisking until the egg whites reach thew stiff peak stage. Next, whisk the sugar in on high speed and add 1 dstp at a time until you have a stiff and glossy mixture. Next fold in the Pistachio nuts and the Spoon the mixture onto the baking tray and place in the centre of the Braai. Cook for about and hour. Next shut all the vents so that the braai goes out but leave the meringue in there to dry out, until completely cold.


Ingredients for the Pavlova topping:
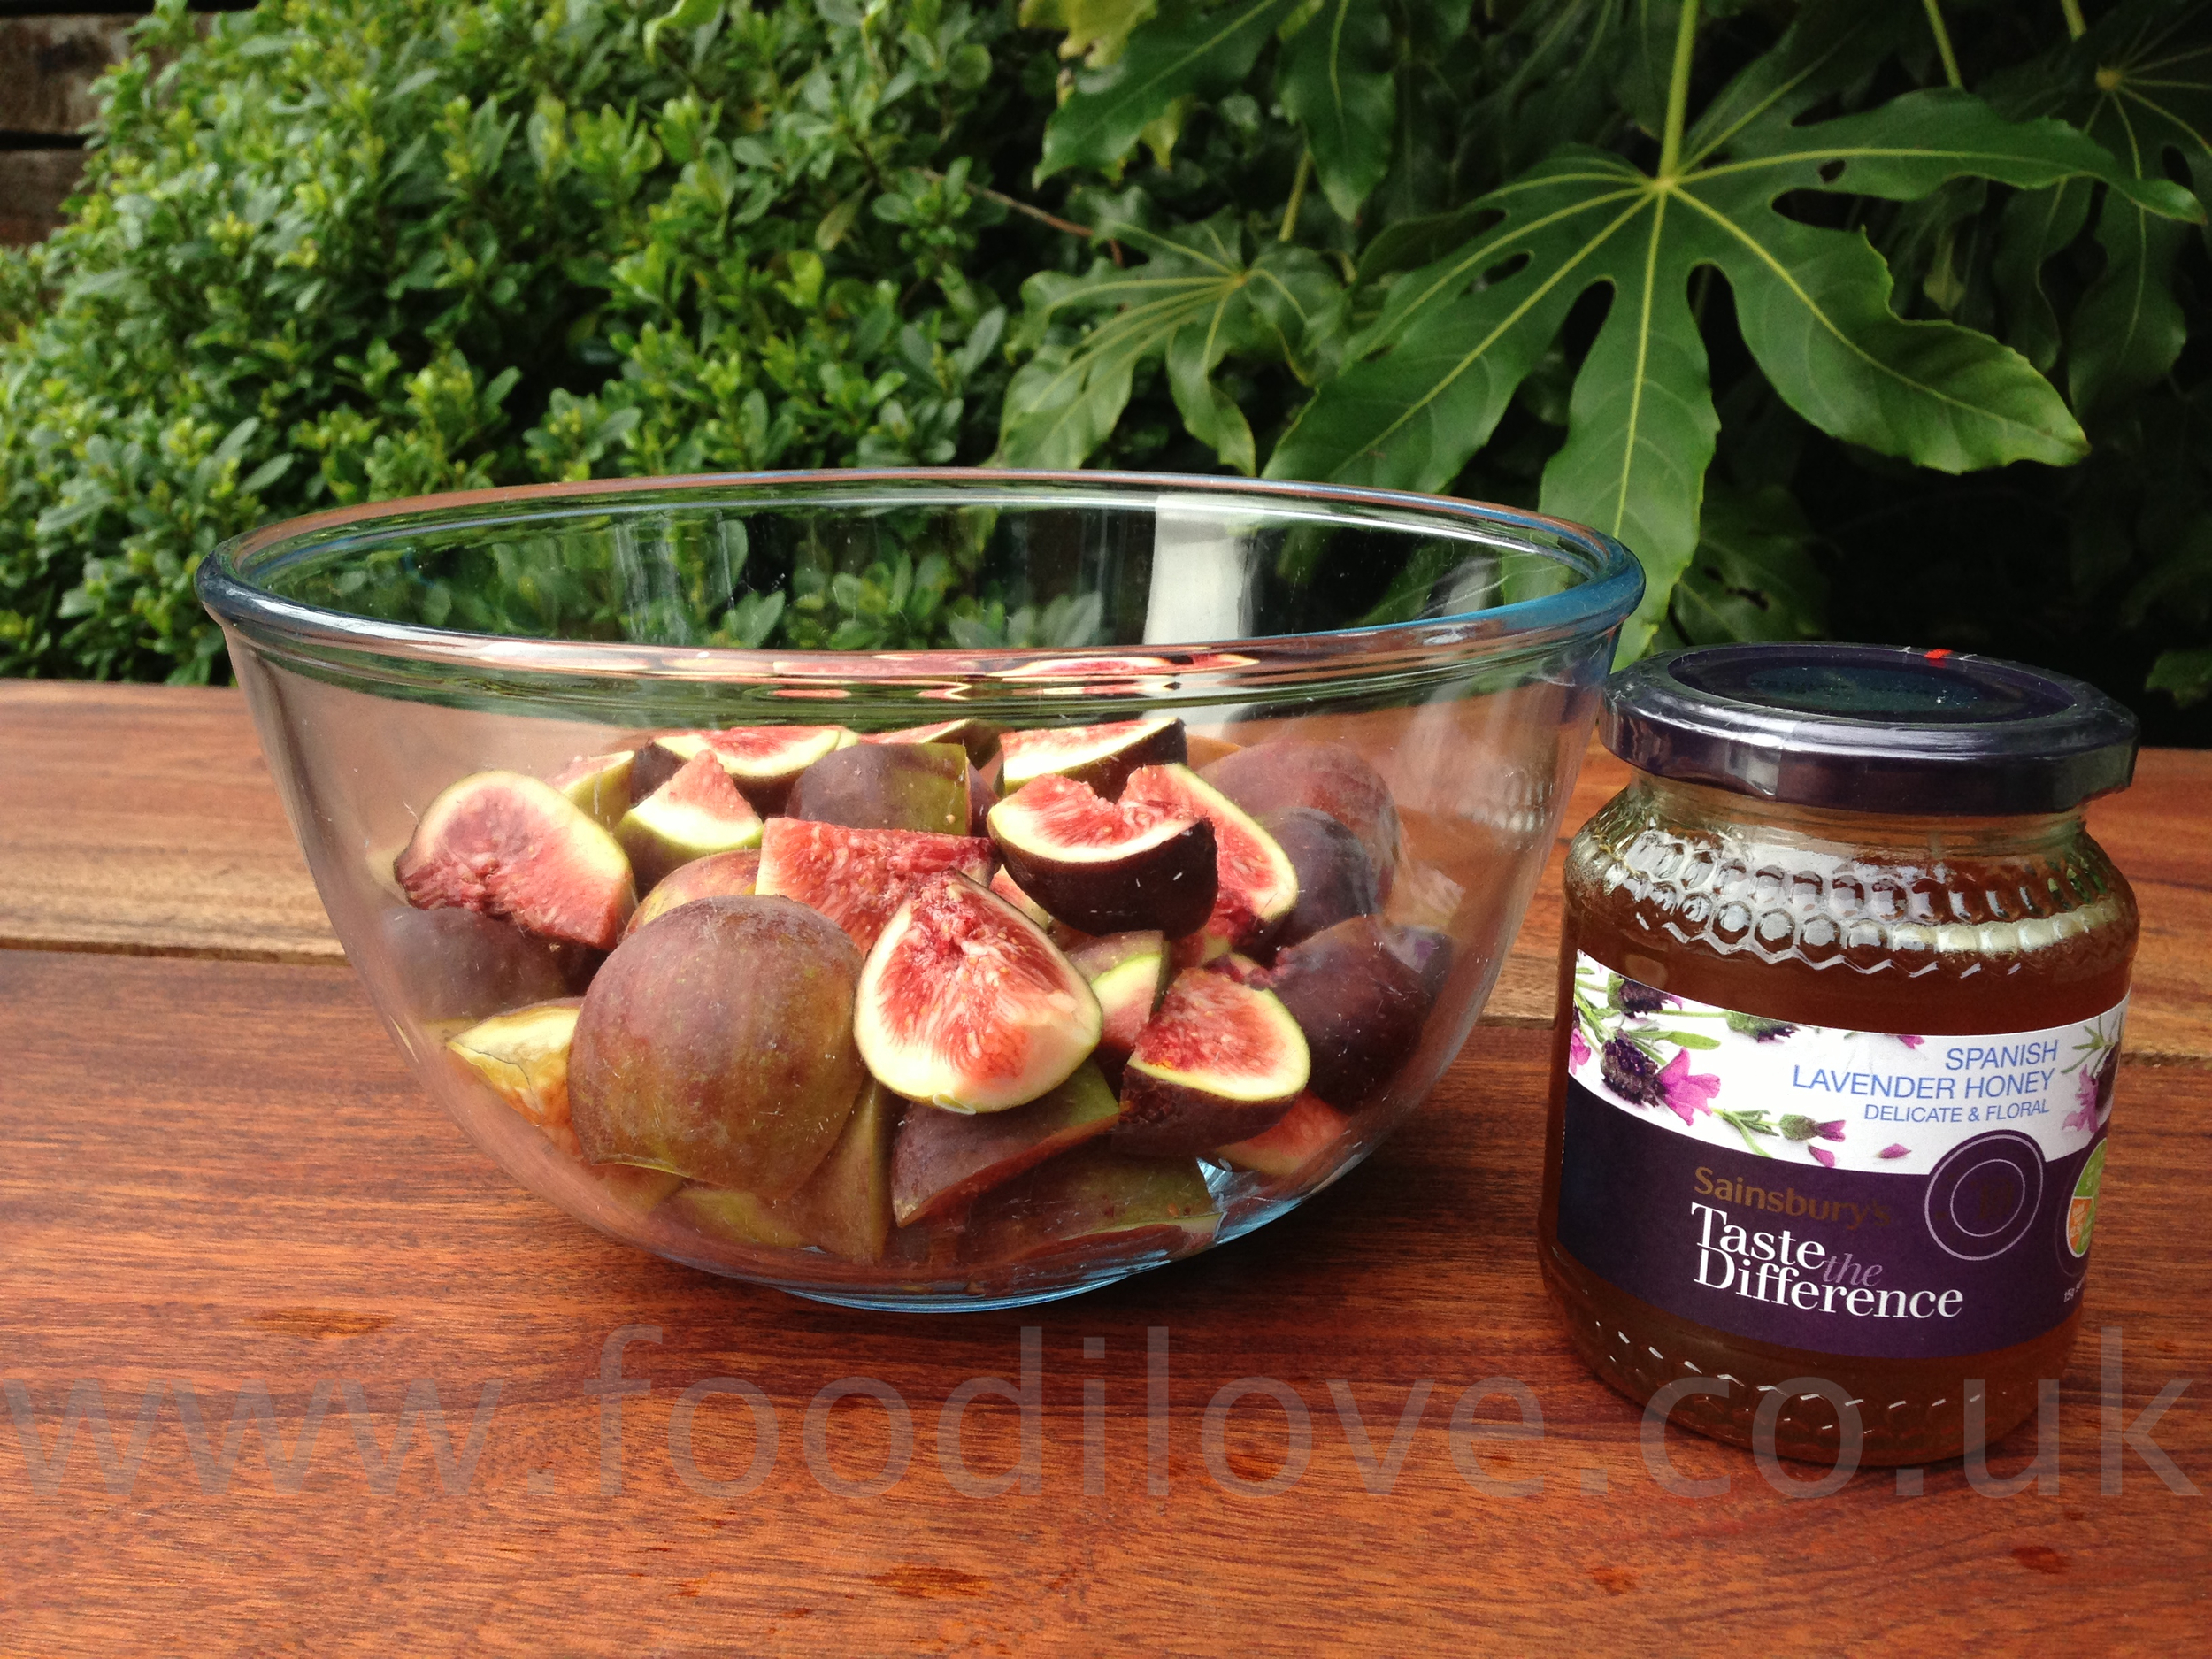
- 16 x fresh figs
- 100g x Crushed Pistachio nuts
- 100ml x Honey
- 300ml x freshly whipped cream
- Knob of salted butter

Method for cooking Pavlova topping:
Melt the knob of butter in a frying pan and quickly sauté the figs for just 2 mins. This is just to soften the skin of the figs, poor a couple of spoons of honey over them and take off the heat. Set aside to cool until needed.
Just before you are ready to serve, whip the cream and then spoon onto the centre of the meringue. Next spoon the figs over the cream and sprinkle the crushed Pistachio nuts over the top. To finish it all off drizzle the remainder of the honey all over and serve.


I wasn’t sure how this would work or even if it could be cooked on the braai but I must say it came out fantastically and everybody just loved it. This is going to be one of those dishes that comes out more than once over the next year. All you need to do once you’ve eaten it is go down to the gym for about 3hrs to work it off. Once again please leave any feed back below, this really helps me work out what to do, many thanks. Larry